
Tackling DIY projects can be a rewarding experience for any parent. While it might seem daunting at first, avoiding common mistakes can make the process smoother. This guide provides practical advice to help you handle DIY tasks with confidence and clarity.
The Importance of Permits
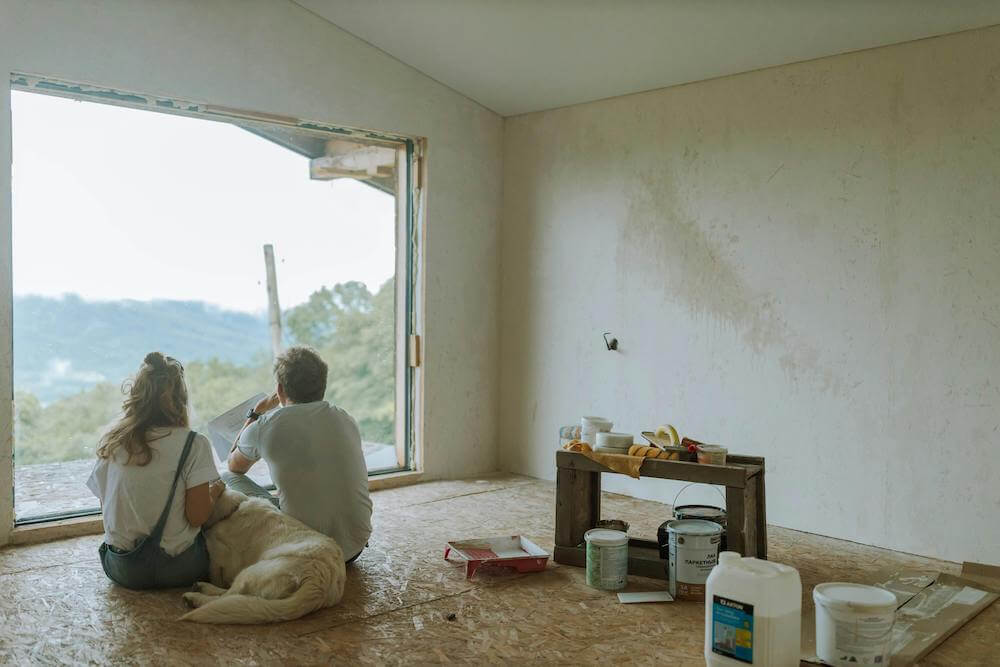
Knowing which projects require permits in the UK can prevent potential setbacks. Here are some common examples:
UK-Specific Permit Requirements
Building Extensions
Creating additional space, like a conservatory or an extra bedroom, often requires planning permission. This ensures your extension adheres to local planning standards.
Major Electrical Work
Projects like rewiring or adding new circuits typically need certification. This guarantees the job meets safety standards.
Significant Plumbing Changes
Altering the plumbing system, such as installing a new bathroom, may require approval to ensure compliance with water regulations.
Steps to Obtain a Permit
- Check Local Regulations: Different councils have varying requirements. It’s crucial to verify what applies to your area.
- Consult a Professional: If you’re unsure about permit needs, professionals can offer valuable guidance.
- Apply Online: Many councils provide online permit applications, simplifying the process.
Don’t Overlook Your Drainage System

One area that many DIY enthusiasts forget about until it’s too late is the drainage system. Whether you’re planning bathroom renovations, garden landscaping, or any project involving water, understanding the condition of your drains is crucial before you begin.
Blocked or damaged drains can turn a simple DIY project into an expensive nightmare. Imagine installing a beautiful new patio only to discover that poor drainage causes flooding, or renovating your bathroom whilst unknowingly having cracked pipes beneath the floor.
Consider a CCTV Drain Survey
A CCTV drain survey involves sending a small camera through your drainage system to inspect its condition. This might sound overly technical for a DIY project, but it’s actually a smart preventative measure that can save you significant headaches later.
Here’s when you might want to consider one:
Before Major Renovations: If you’re planning extensive work on bathrooms, kitchens, or outdoor areas, knowing your drainage condition helps you plan properly.
When You Notice Warning Signs: Slow-draining sinks, unpleasant odours, or gurgling sounds could indicate blockages or damage that need addressing before you start any related work.
For Older Properties: If your home is more than 20 years old, a drainage inspection can reveal issues that aren’t immediately obvious but could affect your DIY plans.
While it might seem like an extra step, especially for smaller projects, having peace of mind about your drainage system means you can focus on the fun parts of DIY without worrying about surprises lurking beneath the surface.
Essential Tools for DIY Success

Using the right tools is fundamental. Basic tools like a drill and a hammer should be part of your toolkit. Additionally, having carbide drill bits on hand can be beneficial for tougher materials. Here’s a list of must-have tools and tips on using them effectively:
Drill and Drill Bits
A cordless drill is versatile for tasks like assembling furniture or mounting shelves. Invest in a range of drill bits, including carbide ones, for durability when working with various materials.
Hammer
A claw hammer is perfect for driving nails and removing them. Choose one with a comfortable grip to reduce fatigue during extended use.
Screwdrivers
A set of both flathead and Phillips screwdrivers in various sizes will cover most needs. Consider a magnetic screwdriver to help keep screws in place.
Measuring Tape
Precision is key in DIY, so a sturdy measuring tape is essential for accurate measurements.
Level
To ensure everything from picture frames to shelves are straight, a spirit level is indispensable.
Utility Knife
Ideal for cutting materials like cardboard, carpet, and more. Keep extra blades handy for clean, precise cuts.
Choosing the Right Paint Finish

Selecting the appropriate paint for each surface ensures lasting results. For walls, satin paint is ideal, while gloss paint is suited for woods and metals. Remember, the right choice of paint finish enhances durability and appearance. Here’s a guide to selecting and applying paint for the best results:
Paint Finishes
Matte: Provides a non-reflective finish that is great for ceilings or low-traffic areas. My personal tip from parent to parent: matte paint and greasy fingertips do not mix!
Satin: Offers a slight sheen, perfect for walls in living rooms or bedrooms.
Semi-gloss: Durable and easy to clean, ideal for kitchens and bathrooms.
Gloss: Highly reflective and durable, best for doors, trim, and cabinets.
Paint Colours: Lighter shades can make a room feel larger and more open, while darker colours add cosiness and warmth.
Primer Use: Always apply a primer on new drywall or when transitioning from a dark to a light colour. It helps the topcoat adhere better and colours pop.
Achieving a Professional Finish
- Prep the Surface: Clean walls to remove dust and grease. Fill any holes or cracks for a smooth surface.
- Use Quality Brushes and Rollers: High-quality tools lead to a more even application and reduce visible brush strokes.
- Apply Tape for Clean Edges: Painter’s tape helps create sharp lines along edges and trim.
- Work in Sections: Paint in small, manageable areas to maintain a wet edge and avoid lap marks.
Practical DIY Tips
- Plan Your Project: Outline your steps before beginning. This helps organise the work and anticipate potential challenges.
- Prioritise Safety: Wear protective gear, especially for tasks involving tools or chemicals.
- Stay Organised: Keep your tools and materials neatly arranged to streamline the process.
- Seek Professional Help: If a project feels beyond your skill set, don’t hesitate to consult an expert.
Concluding Your DIY Journey
Approaching DIY with care and preparation makes it an enjoyable experience. Mistakes are learning opportunities, and successful projects boost your confidence. Whether you’re assembling furniture or embarking on a larger renovation, these tips will guide you toward successful outcomes. Happy renovating!
Last Updated on September 1, 2025 by Lucy Clarke